For me, this has been a chase embodied through the lens of fashion, travel, and beauty. But most recently, a lot of those things have taken a back seat to a new realm of inspiration chasing.
A couple months ago, I announced that Dave and I had purchased a new home here in the city of Toronto. Buying a house in Toronto (without being a multi-millionaire) typically means buying an old Victorian style home that’s pretty run down but has lots of character. And that’s exactly what we did. For the record, it still cost us a pretty penny. Such is life buying in the city, we suppose.
With this new (and large) project, my daily inspiration chase has shifted gears towards interiors, home design, and even tools. We’re renovating the entire house, top to bottom, all on our own. We have Dave’s dad, who’s a skilled contractor, to advise us on what to do; but for the most part, it’s us using our own bare hands to get things done.
If you haven’t seen any of our other Inspired Home projects or updates, we’re documenting the entire process. When we were looking for our perfect home, it was almost dream-breaking to learn that it was so far out of our price range. So when we decided we would build it ourselves, we really wanted to share it all, in hopes of inspiring someone out there to create a dream home of their own too.
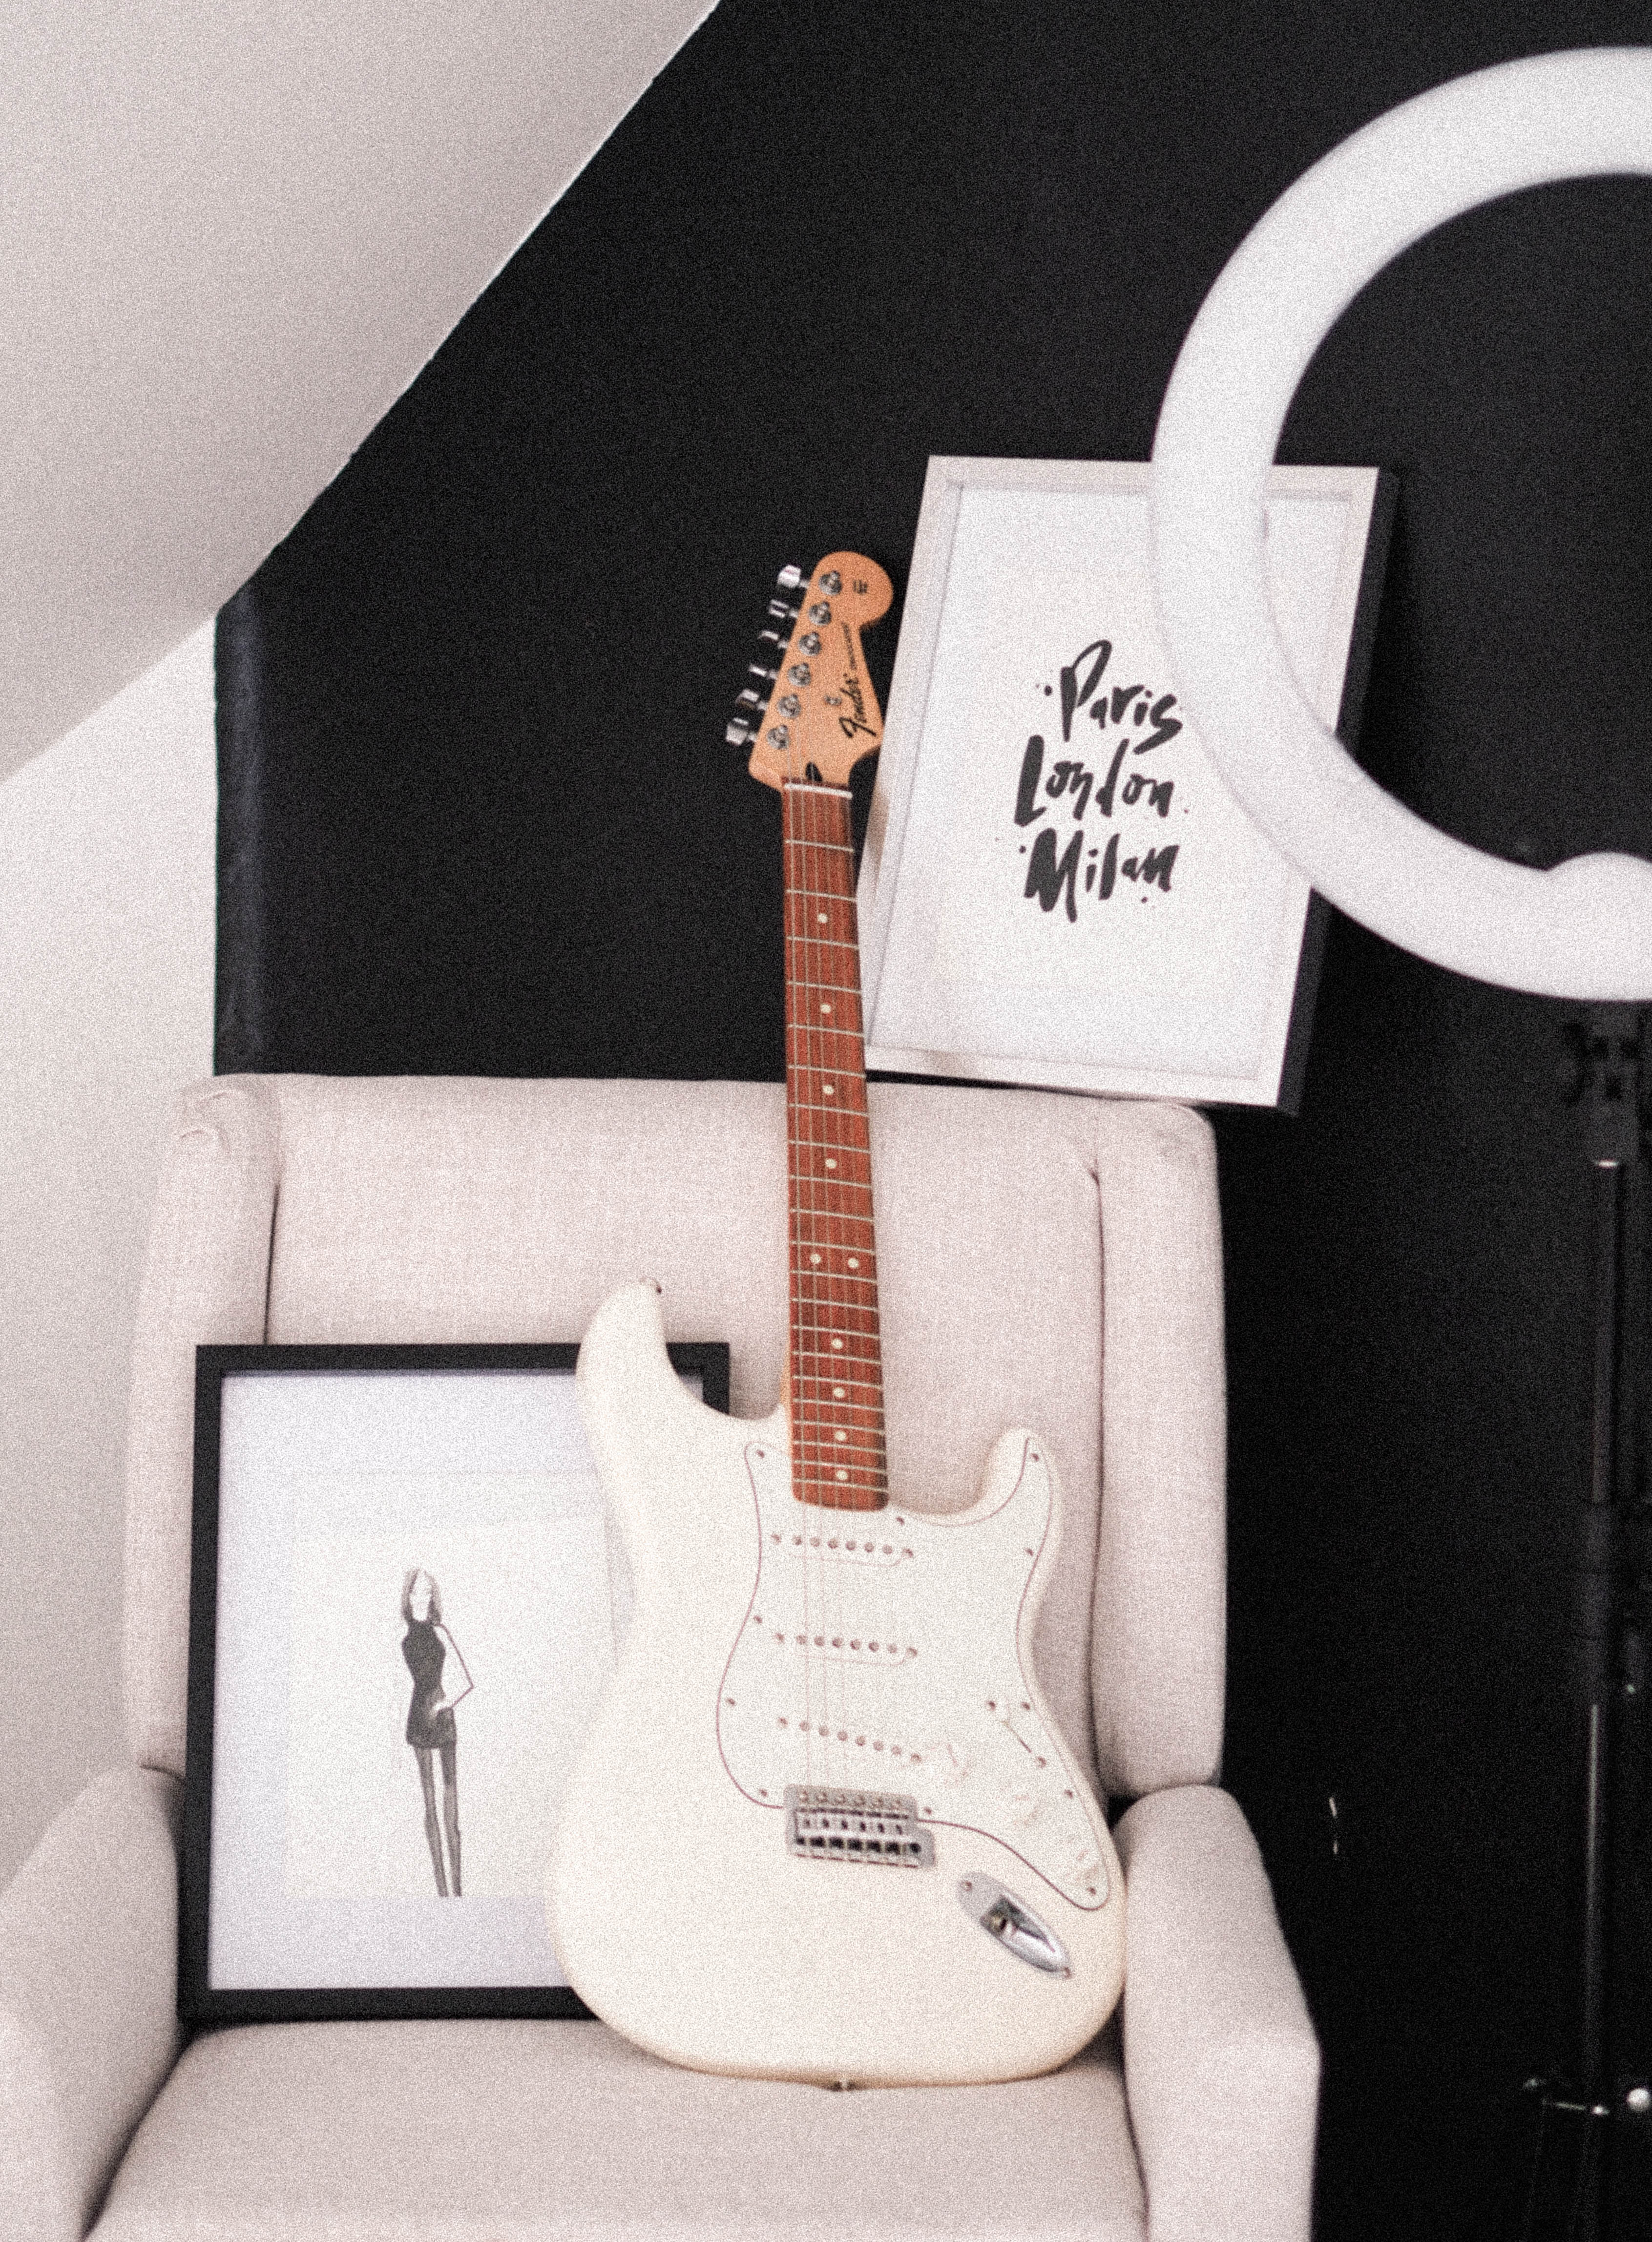
Houses in Toronto are often built upwards, so you have smaller floors, but more of them. We have a third floor in our office, with two adjacent rooms that have these quaint little sloped walls. The condition of the rooms was alright, but what I never knew was that walls back in the day were made of plaster, not dry wall. So when we took everything down, it was super dusty… but we also uncovered a beautiful exposed brick wall in my office (photographed above).
We decided to keep it, strip the floors, knock down the walls, rebuild them, and that’s what you have shown above.
We finally got to the stage of finishing touches. The room didn’t need a lot beyond floors and paint. And for the latter, I knew I wanted to make it special.

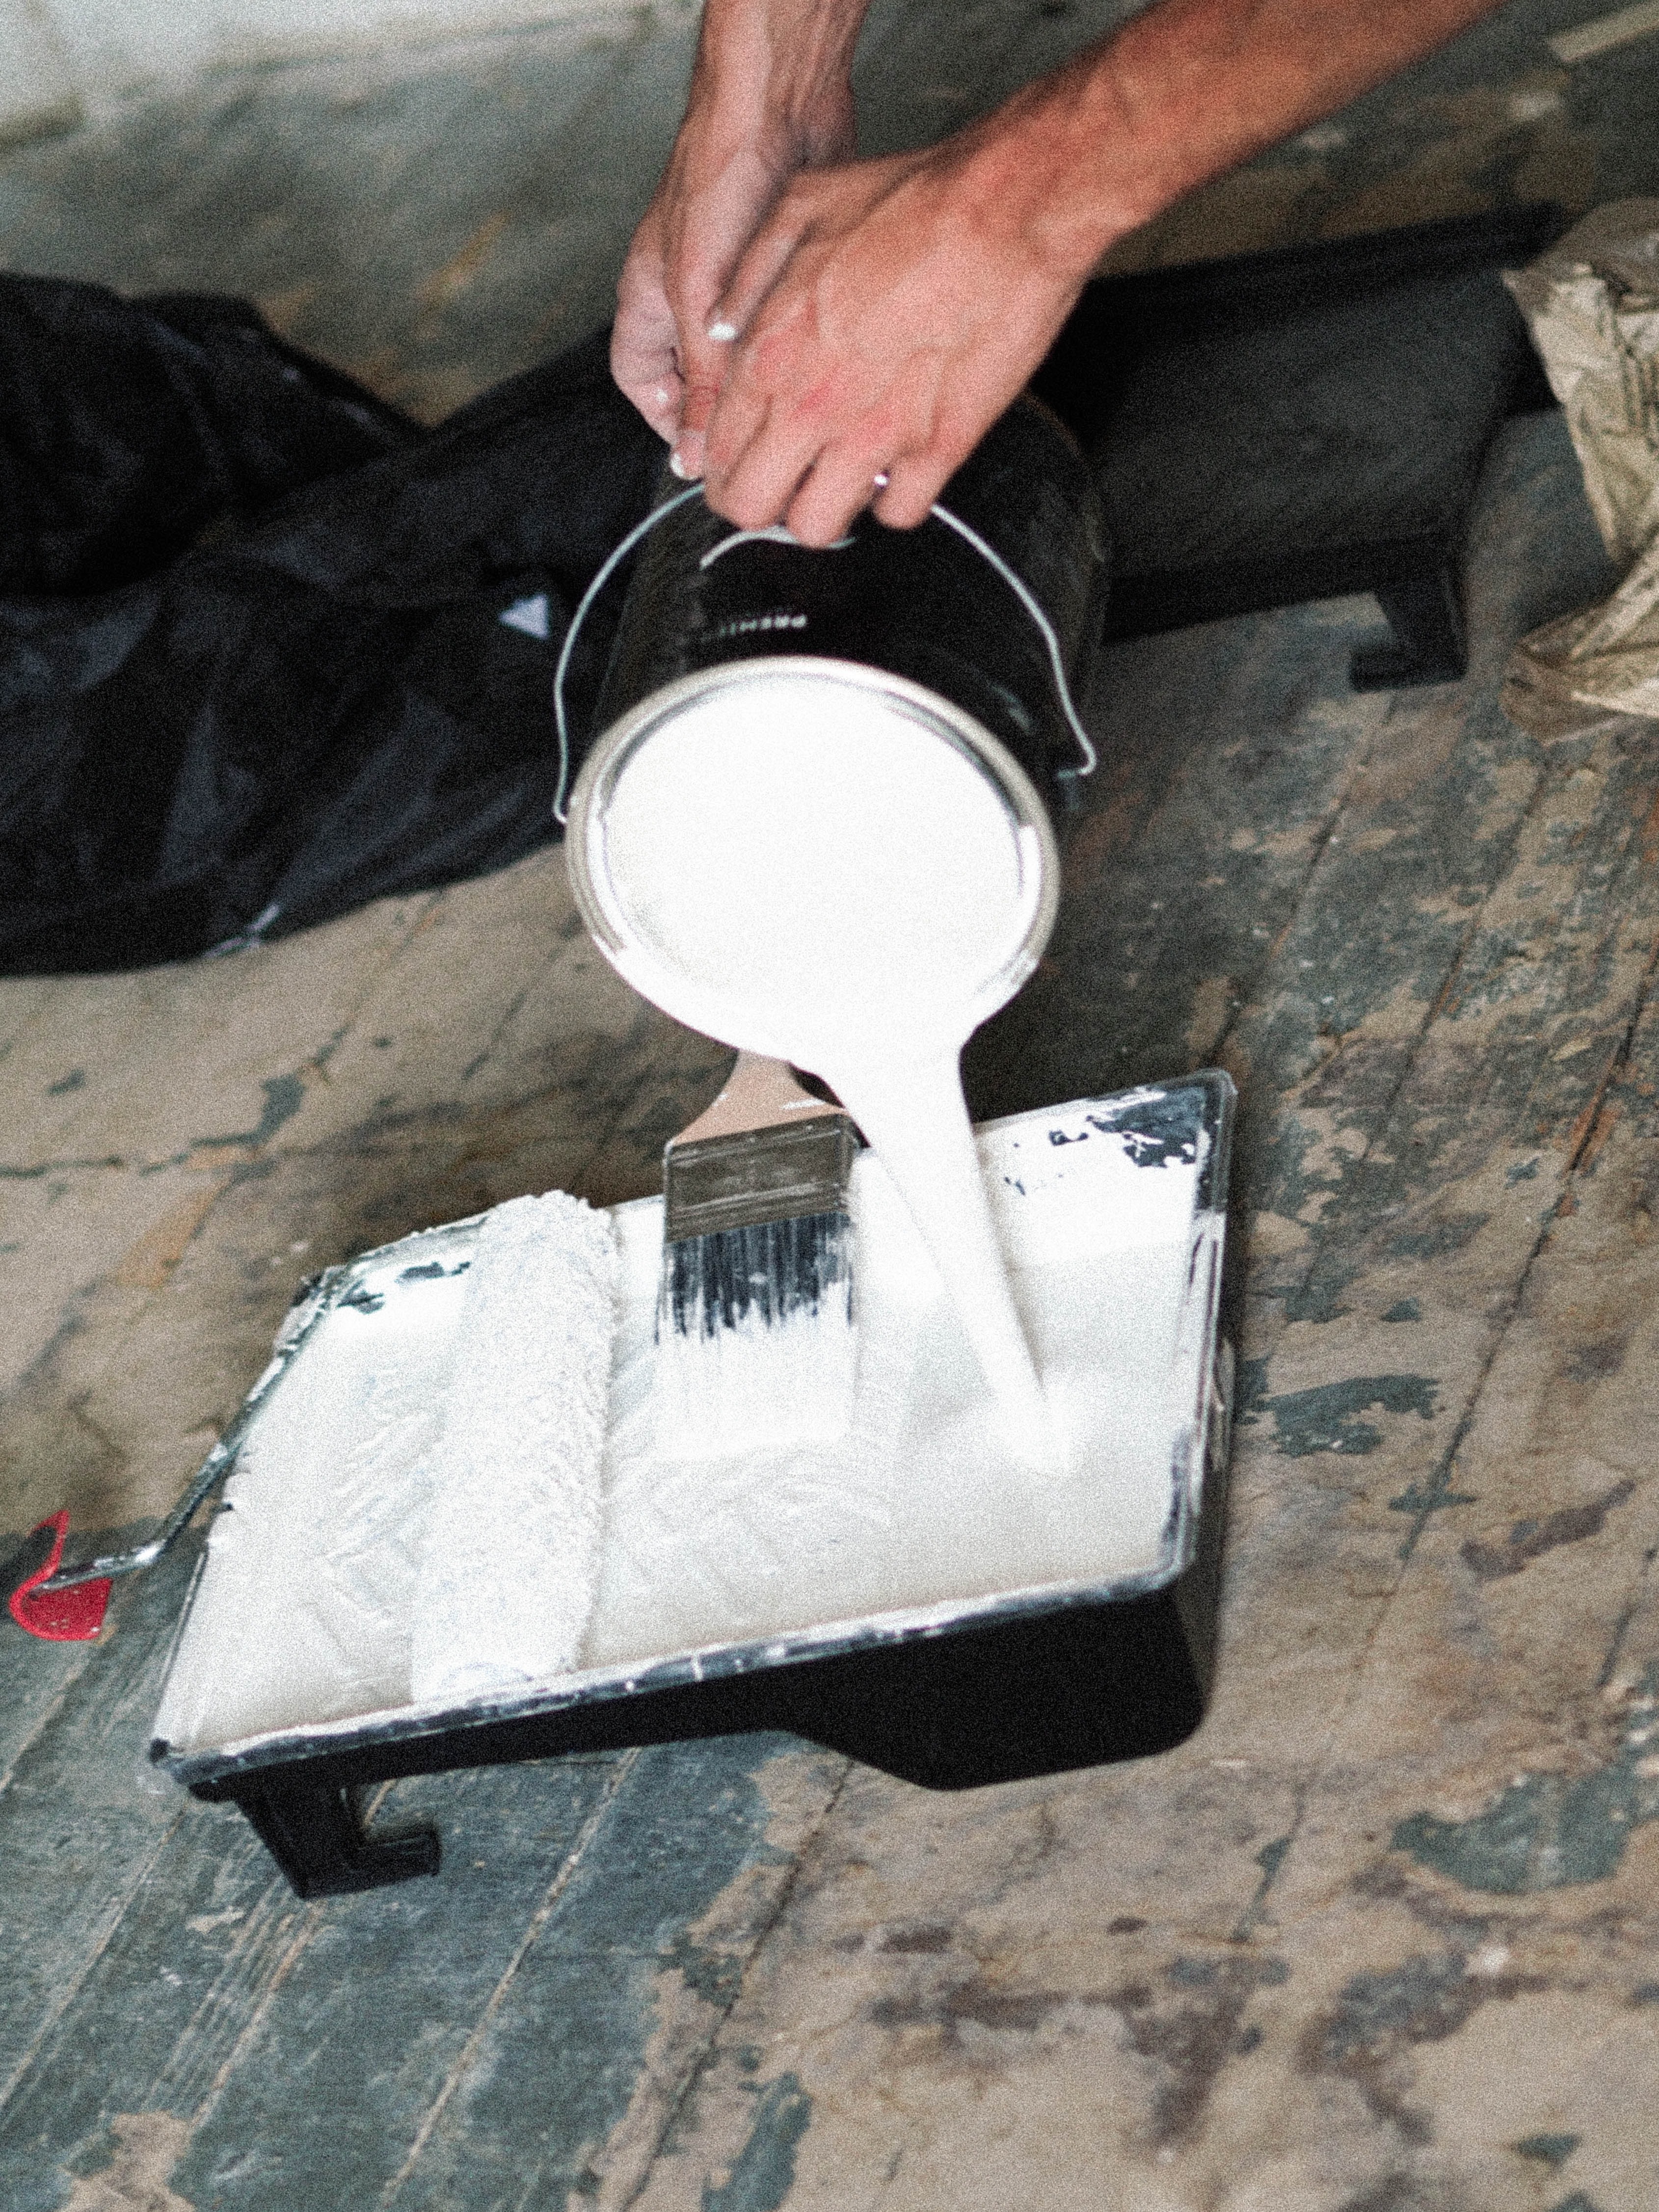
I had the amazing opportunity to try Premier Paints before, whilst working on a DIY project to customize a set of wooden bar stools. I was so surprised at how amazing the quality was. It only required 1 coat, went on without streaks, and the best part, had no funky odour that made my head ache. The formulation of the paint is VOC-free, so no need to vacate your house for a couple days after painting (huge win).
It was important for us that we chose good paint for the house. The walls and each corner has a lot of character, but we knew a bad bucket of paint would make it all look cheap… not eclectic.


Choosing Paint:
We had been introduced to the paint through the campaign, but ever since, could not stop raving about how great it was. So when it came time to start painting our offices (and thinking about what paint we wanted to use for our house), we knew it had to be Premier Paint’s Infinity Line.
All of our equipment we used was from the Premier Paint Infinity Line. Just like make up, if your tools to apply aren’t great, the application just won’t do the make up justice. I feel like that definitely goes for paint as well.

The Process Of Painting
Good paint also makes your process a lot more seamless. If you’ve never painted a room on your own before (I know I can count on one hand how many times I’ve done so), here’s a quick 101 on the steps we took:
-
Cover your floors (we didn’t have any, but you probably do)
-
Tape off the corners of ceilings, windows, closets, accent walls, and doors for clean lines
-
Start with a paint brush around the corners and edges of each wall (where your roller won’t reach/cover without hitting the ceiling/floor)
-
Go in with your roller in long even strokes
-
Keep an eye out for blobs and even them out

Paint Colours and Accents
When it came down to choosing paint colours, I knew I wanted my home to have a monochrome and neutral palette. I’m going after a modern industrial vibe, so a neutral palette is the perfect seamless backdrop for wooden decor and metallic accessories.
I wanted to keep it clean, but I also didn’t want it be sterile and just all white. We decided to give my office an accent wall to spice it up (plus, it makes for great extra backdrops for photos and videos).


The Final Product
The entire process took us less than a day, especially because the Premier Paint is super fast drying and we didn’t have to wait for any paint fumes to settle. If there was one word to describe the memory of it all, it would be: fun. Dave and I had such a blast creating our offices and making it our own. It’s not fully decorated yet, but the daylight-lit space and fresh coat of paint makes the entire floor feel brand new and totally our own.

The rest of our house is admittedly a complete mess, but I wake up every morning and head into this space. I spend about 8+ hours a day here. And I can confidently say, I feel right at home.
Click below to watch us paint in action
Dave and I aren’t expert renovators. We’re not skilled painters. Heck, we’re not even skilled demolishers (I just learned there’s a process to demolition). We’re just like you, and we did it. So whether you’re thinking of a fixer upper, or perhaps you just feel like you want to update your home a bit, know that you can do it, and it’ll feel incredible when you do knowing you did it yourself.
We have so much more to share on our house and hope you’ll stick along the entire process. The support of our readers and audiences gives us the strength when we feel like we embarked on an impossible project. So thank you for helping this girl make her dreams a reality!

*** This post was generously sponsored by our friends at Canadian Tire and Premier Paint.


